How to Install Light Fixture
The instructions cover the basics—here’s how to handle complications
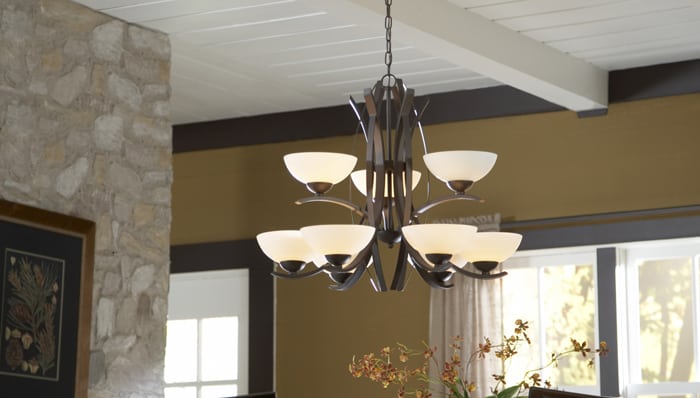
It’s the perfect job for a rookie electrician. Just disconnect a few wires, take down the old fixture and connect the new one. And while you’re at it, eliminate the $100 electrician’s charge. But some of the steps aren’t quite as easy as they appear. Here are some solutions from professional electricians.
Be sure the power is off
The junction box in the ceiling may contain wires from more than one circuit. So even if the light switch is off and you’ve turned off power at the main panel, there may be a live wire in the box. So always probe with a noncontact voltage detector before you disconnect any wires.
caution! If the wires in the box are dull gray instead of brown or copper-colored, you have aluminum wiring and need to call in an electrician to work with it.
Third hand
Connecting a fixture takes three hands: one to hold the fixture and two to make connections. If you don’t have three hands, hang the fixture from a scrap of wire.
Two mounting systems
If you’re not familiar with them (or even if you are), light fixture mounting systems can drive you crazy. There are two types, and just knowing what’s under the canopy is half the battle. If you see two screws or screw caps on the canopy, you have the type with an offset crossbar. If not, you have the type with a single crossbar and a threaded pipe.
Buy better connectors
The connectors supplied with most fixtures are all plastic; no metal threads inside. So they don’t grip wires very well. The ones sold separately are better.
Connecting solid wire to stranded
Light fixtures come with stranded wire, while the wires in your junction box are solid. Twist-on connectors tend to grip the solid wire, but not the stranded. That makes a lousy connection. To prevent that, just extend the stranded wire about 1/8 in. beyond the solid before you twist on the connector. Works every time.
Buy extra hardware
The mounting brackets supplied with your fixture may not work smoothly with your junction box. So pick up a couple other styles—better to spend an extra five bucks than to stop work and make a trip to the store.
Some fixtures are too hot
If your home was built before 1985, it probably has wiring that can’t handle the heat generated by many newer fixtures. These hot fixtures carry a warning: “Use wire rated for at least 90 degrees C.” The easiest solution is simply to avoid a fixture with this warning in a pre-1985 home. But if just must have that fixture, check your wiring. If you see “NM-B” or “UF-B” on the outer sheathing of the cable or “THHN” or “THWN-2” on the insulation of individual wires, you’re OK for hot fixtures.
Short wires, no problem
When the wires in the junction box are too short, connecting them is frustrating. Here’s the solution: Buy some “stab-in” connectors. In tight spots, they’re much easier to use than twist-on connectors. Cut a couple 5-in. sections of wire (of the same gauge as the wires in the box) and connect them. Then connect the fixture wires to the added wires with twist-on connectors.