Contents
Hole in Wall Repair – How to Fix Them
With a little patience, you can get pro results
Fill small holes
For holes smaller than 1/8 in., use spackling compound. If you have a mix of hole sizes, some larger than 1/8 in., some smaller, you can use joint compound for all of them. Whatever you use, expect shrinkage as the compound dries (no matter what the label promises). Don’t be surprised if you have to coat the hole two or even three times to compensate for shrinkage.
Choose lightweight compound
At the home center, you’ll find premixed joint compound in plastic containers and powder in bags. Unless you want to take on a messy mixing job, buy the premixed stuff. And choose one that’s labeled “lightweight.” Lightweight compound shrinks less and sands easier than the standard version.
Fix nail pops—and keep them from coming back
Nail pops happen when drywall nails or screws break through the surface, usually due to shrinking and swelling of the wall studs. If you just pound them in and patch them, they’ll be back. Here’s how to fix them permanently:
1. Prepare for patching
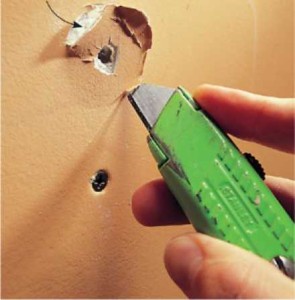
Drive drywall screws into the stud above and below the pop. Don’t use nails. If the drywall has puckered around the pop, slice it out. If the area is flat, leave it alone. Remove the popped nail or screw.
2. Patch the holes
Fill the depressions with joint compound. Let the compound dry and coat it again (and probably again!) until the patch is flat. Smooth the patch with 100-grit sandpaper, then prime and paint.
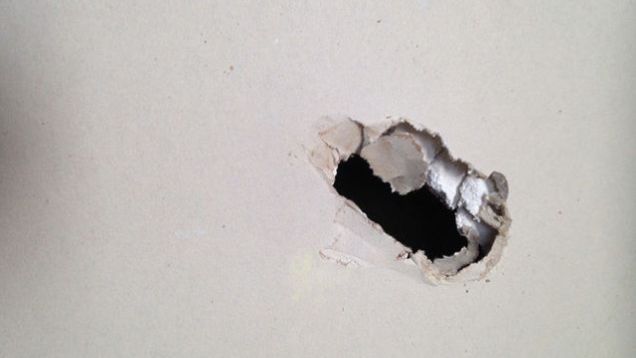
Patch a big hole
The usual way to cover a large hole (such as a doorknob disaster) is to cut out the damage, insert new drywall and reinforcing tape, then smooth it over with joint compound. But here’s a shortcut: Home centers carry adhesive-backed metal patches in various sizes. They’re cheap and save a few steps. Here’s how to use one:
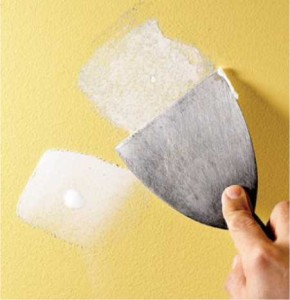
1. Stick on the patch
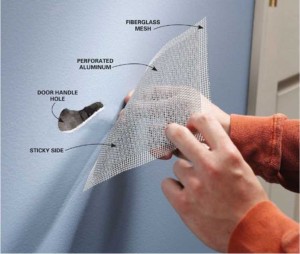
Scrape off any protruding paint or drywall around the hole. Then apply the patch—just like a bandage.
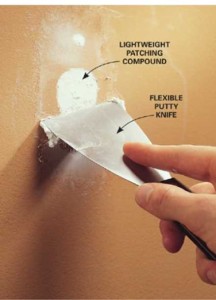
2. Coat the patch
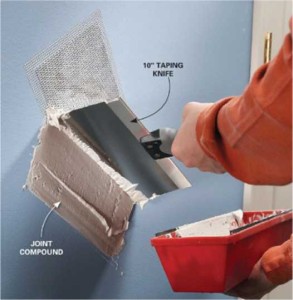
Spread joint compound over the patch with a wide knife. Smooth out the compound, let it dry and add another coat. Keep the coats thin and smooth; it’s better to apply three or four coats than to create a thick buildup. Extend each coat a few inches beyond the previous coat to form edges that gradually taper.
3. Sand the compound
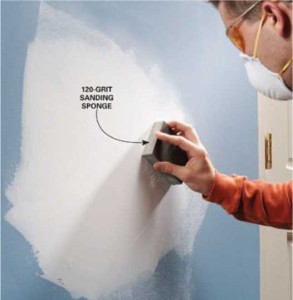
Smooth the dried compound with a sanding sponge. If you did a good job of smoothing and tapering the compound, this will take just a few minutes and the slight hump on the wall will be invisible after priming and painting.