Contents
Best Way to Roll Paint
Get smooth, even coverage every time
Ask 10 painters how to roll a wall and you’ll get 10 answers—some simple, some complicated, some incomprehensible. The method shown here is one of the simpler approaches, easy to understand and master. As you gain experience, you’ll develop your own variations and—like a pro painter—you’ll determine that your way is the only way.
Before you roll
Once you start rolling a wall, you can’t stop until that wall is done. If one swath of paint starts to dry before you complete the neighboring swath, you’ll end up with differing textures where those two areas meet. So have everything ready to go.
- Mask all the woodwork. Remember that rollers throw off fine drops of paint that will fall on all surrounding surfaces.
- Brush paint onto all the areas where a roller can’t go: Along trim and inside corners, and around switches and outlets.
- Screw a long handle into the roller frame. There are special handles made just for this, but a push-broom handle works, too.
What to avoid
The goal is to spread paint evenly, without lightly covered areas or heavy coverage that leaves large, stringy bumps. Above all, you want to avoid ridges created by the edge of the roller. After loading the roller with paint, ridges are inevitable, so the solution is to go back and flatten them after the roller is unloaded.
Get a good roller
A cheap roller might save you five bucks, but it won’t hold much paint, so you’ll have to reload more often and the project will take longer. Worse, it will leave hundreds of tiny fibers on your wall. Ugly. Be sure to get a roller labeled “shed-resistant.”
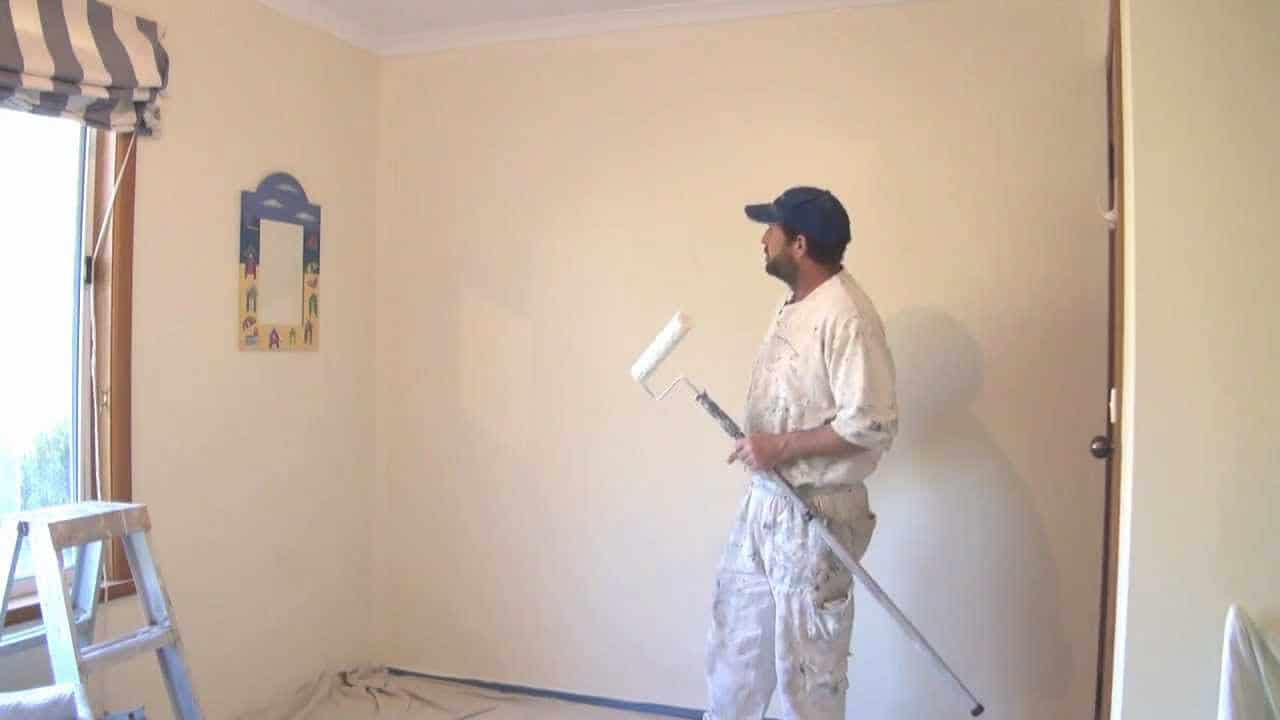
A 3-step process
1. Get the paint on the wall
Load the roller with paint. Starting about a foot above the baseboard, roll upward. About halfway up, veer over a few inches and continue up the wall. When the roller is about a foot from the ceiling, roll straight down. Continue rolling up and down to spread the paint from baseboard to ceiling.
2. Repeat step one
Reload the roller and cover another swath of the wall. Don’t worry about uneven coverage or ridges at this point—just get the wall covered quickly. Water-based paints dry fast. If you move too slow, some areas will become sticky before you can smooth them and you’ll end up with texture differences on the paint’s surface.
3. Smooth it out
Steps one and two will give you a covered section about 4 ft. wide, but it won’t look good. So go back to the beginning—without reloading the roller—and make long up-and-down strokes to even out the paint. Press lightly and overlap your strokes by 3 to 4 in. Repeat this process to cover the entire wall.
Trouble at the top of the wall?
It’s not easy to cover the upper end of the wall and avoid slopping paint on the ceiling. If you see uncovered spots up there, unscrew the long handle from the roller frame and immediately make a horizontal pass.