Contents
- 1 How to Paint for Beginners Tips
- 2 Accurate masking
- 3 Cut before you remove tape
- 4 Don’t start in corners
- 5 Degloss varnished wood
- 6 Set up a staging area
- 7 Don’t paint out of the can
- 8 Prepare for a paint shower
- 9 Dump the bumps
- 10 Prime every patch
- 11 Caulk every little crack
- 12 Don’t land on edges
- 13 Super-smooth rollers
- 14 Remove mistakes
- 15 Don’t open the can with a screwdriver
- 16 Strain out the goobers
How to Paint for Beginners Tips
Essential tips for excellent results
There’s more to painting than just slapping it on; it takes some know-how to get great results. Here are some key tips gathered through years of observing and asking professional painters.
Accurate masking
When masking trim, hold the tape tight against the wall as you unroll it. Then lower the tape onto the trim and it will land in perfect position. Drag a putty knife across the tape to “bed” it firmly onto the trim.
Cut before you remove tape
Before you pull off masking tape, give the paint 24 hours to dry. Then run a sharp blade along the edge of the tape to slice through the paint film. If you don’t do this, the paint film will tear, leaving an ugly, jagged edge.
Don’t start in corners
When painting trim, unload your brush a few inches from inside corners. Then spread it into the corner. If you unload directly into the corner, you’ll end up with a heavy blob that’s difficult to spread out.
Degloss varnished wood
Paint doesn’t stick well to clear coatings on wood. So before you paint, treat varnished wood with deglosser. It’s faster than sanding and leaves a surface that paint can grab onto.
Set up a staging area
Painting requires a lot of gear. To avoid constantly moving stuff or tripping over it, lay down a dropcloth outside the room and park your supplies there.
Don’t paint out of the can
A paint can is awkward to hold and easy to spill. Worse, leaving the can open while you paint allows partial drying and the formation of chunks. So work from a smaller container. Any can or jar will do. Some store-bought containers, like the one shown here, have disposable liners to eliminate cleanup.
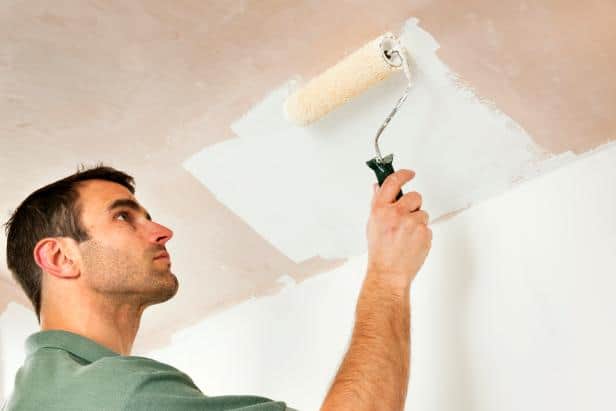
Prepare for a paint shower
Paint rollers spin off a fine mist that speckles everything below. So before you roll— especially a ceiling—put on a cap and glasses. For easy paint removal from skin, rub on some lotion before you paint.
Dump the bumps
The bumps along the edge of a textured ceiling make it impossible to get a neat, straight paint line where walls meet the ceiling. So scrape them off with a screwdriver.
Prime every patch
Fillers like spackle or joint compound instantly suck the moisture out of paint. That gives the patched spot a noticeably different sheen and stands out like a sore thumb on a freshly painted wall. A little dose of primer seals patches and prevents those ugly blotches.
Caulk every little crack
Paint will fill and hide tiny cracks—but only temporarily. Within days or months, even the smallest cracks will come back to haunt you. A bit of acrylic latex caulk prevents that.
Don’t land on edges
Think of your brush as a fighter jet landing on an aircraft carrier. If you land on edges, you’ll scrape paint off the brush and create a big drip. So take off only; never land.
Super-smooth rollers
With practice, you can achieve a smooth finish with a brush. Or you can get a finish that’s almost as smooth with a mini roller. With most paints, microfiber rollers provide the smoothest finish.
Remove mistakes
If you slop some paint on varnished wood, don’t despair. Home centers carry liquid paint remover products just for that situation. Let the paint dry and mask off the paint you don’t want to remove. Gently scrape off as much paint as you can with a putty knife. Then squirt a few drops of remover on an old toothbrush and scrub away the rest.
Don’t open the can with a screwdriver
Sure, a screwdriver works, but it leaves dents in the seal. And that leads to gooey chunks in the paint. Pick up a paint can opener when you buy the paint.
Strain out the goobers
A half-full can of paint that sits around for a few days will develop gooey chunks and strands of partially dried paint that can ruin your paint job. To filter them out, buy a pack of paint strainers. These cheap mesh bags catch the goobers and purify the paint. Fussy painters use them even on paint that’s fresh off the store shelf.