Step 1: Select your seeds. Chives, cilantro, dill, oregano, basil, lemon verbena, marjoram, plus all the Scarborough Fair types (parsley, sage, rosemary, and thyme) will thrive on a sunny windowsill.
Step 2: Sow your seeds. Grab as many tiny flowerpots (or even two-ounce plastic cups with drainage holes poked in the bottom) as you have seed types, label, and fill with new soil. (A loose mixture of peat moss, vermiculite, and perlite, often sold in garden stores as “potting mix,” works well.) Soak your soil thoroughly with warm water. In each pot, sprinkle a few seeds, cover with a quarter inch of soil, give it a gentle pat, and say a few kind words. Then set your pots in a shallow tray partially filled with warm water, and let them sit there for a few minutes until the top layer of soil looks wet.
Step 3: Get your germination on. Turn each pot into a mini greenhouse by covering its top with plastic wrap, secured with a rubber band. Set your pots in a warm spot, like on top of the fridge (it doesn’t necessarily have to be bright), and watch for sprouts. It may take up to four weeks. Until then, always keep the soil damp by periodically setting your teensy pots in a shallow water tray. When the top layer of soil looks wet, remove the pot from the tray.
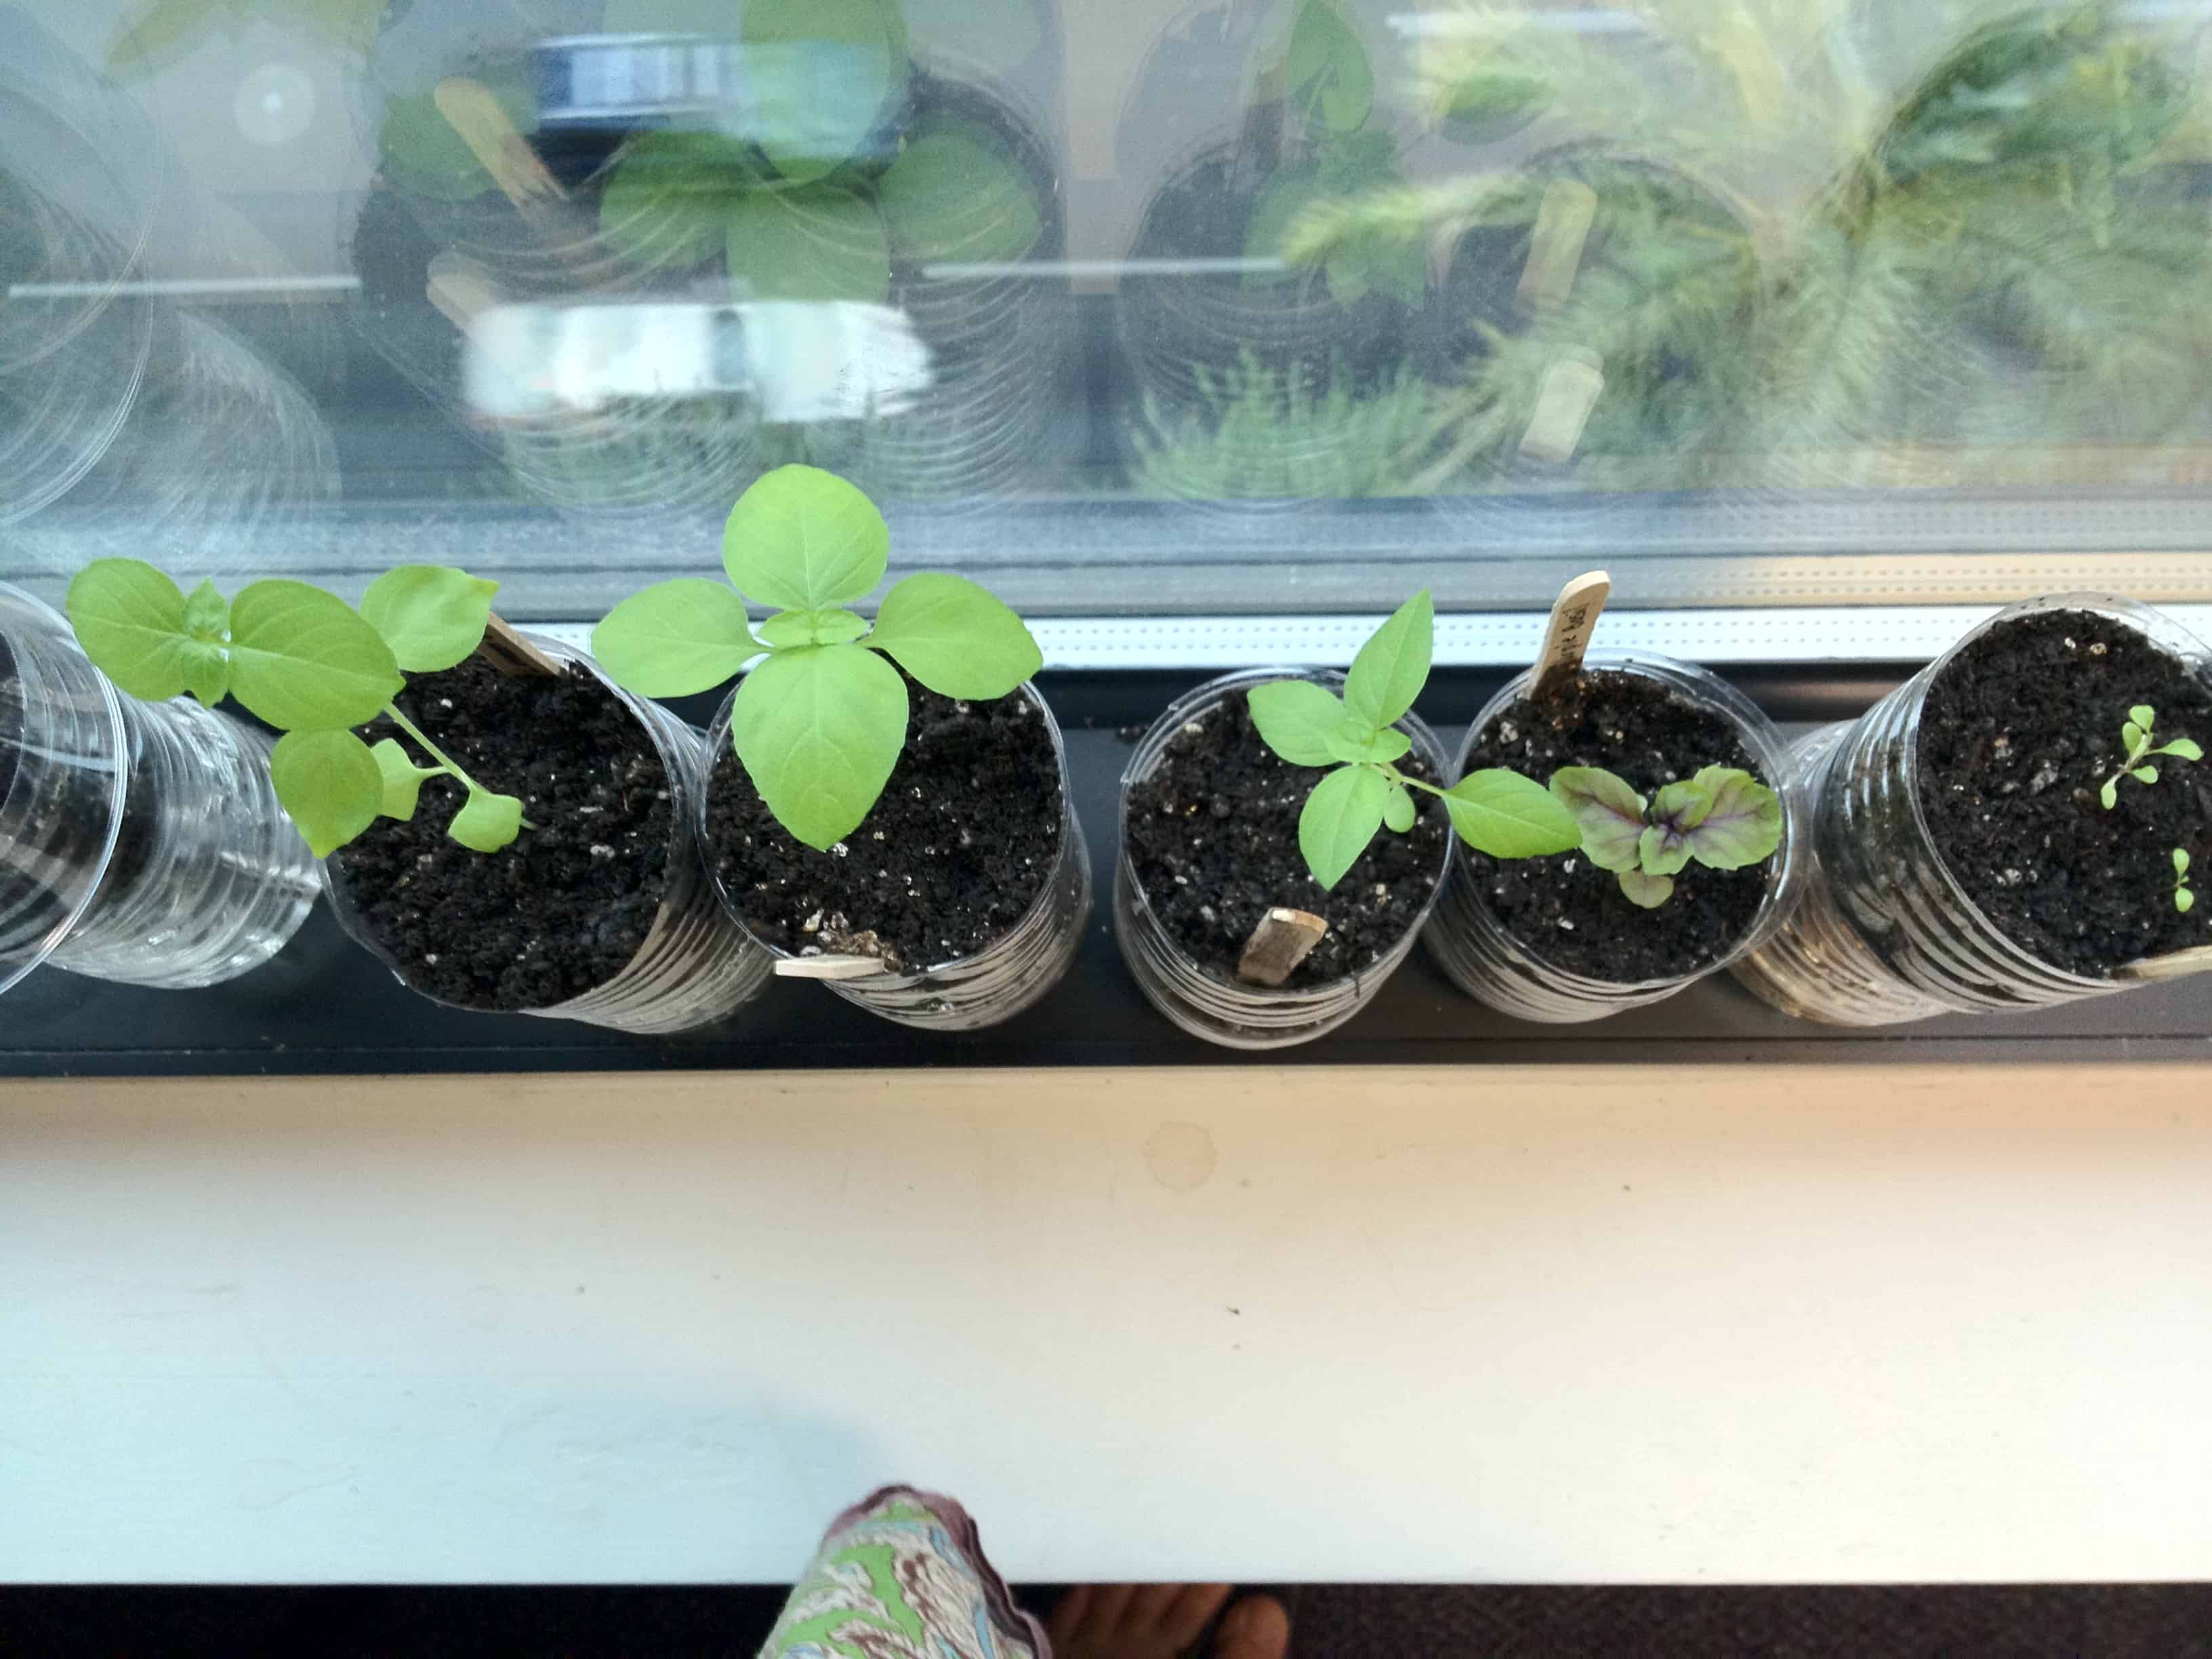
Step 4: Let the sun shine in. Once you see some sprouts, hoot and holler and dance around. Then remove the plastic, move your pots to your sunniest windowsill, and watch your herbs grow, watering (enough so that it runs out the bottom) whenever the top layer of soil feels dry to the touch.
Step 5: After they each sprout about a half-dozen leaves, repot your healthiest herbs in bigger containers, or in a window box—anything with drainage will do. Water and mist your plants whenever the top layer of soil is dry. Just don’t overdo it. If your herbs sit in water, they’ll rot.
Step 6: Within six to ten weeks, your herbs will be bushy, the leaves will be plentiful, and you can start harvesting! Lick your chops and pinch off the tips for use in your favorite dishes or teas.
More tips:
- If you’ve got a few more bucks to spend, well, fancy you! Buy herb seedlings from your garden store and skip steps 1 through 4.
- Mint and oregano tend to be a little pushy, those jerks, so keep them planted in their own containers or they may take over your entire garden.
- Not sure which window is sunniest? Choose the one that faces south. Second best: the one that faces east or west. North-facing windows show the least love.
- Harvest your herbs in the morning for best flavor. Don’t feel bad about it, either. Pinching off leaves will only help more grow.
- Is your garden too prolific? First, yay you! Second, harvest your herbs, rinse them in cold water, and chop them up. Then put them in an ice-cube tray, filled with water, and freeze. Transfer herb cubes to ziplock bags and store in the freezer until you’re ready for use. (If you’re freezing mint cubes, try plunking them directly into your mojito!)