How to Make (and Can) strawberry Jam
Step 1: Pick your own berries. You’ll need about 4У pints’ worth (or 9 cups) for every batch of jam you make. It’s okay if a few of them are underripe. They’ll help your jam set.
Step 2: Gather your supplies and other ingredients. You’ll need: 2 large lemons, 4 cups sugar, a large pot, a wooden spoon, a small plate, and, if you don’t plan on finishing off your jam immediately, all the usual canning supplies, including a canner (aka a ginormous pot), a wire jar-rack (to help prevent breakage), a jar-grabber (or tongs), a ladle, and four У-pint canning jars with new lids and rings.
Step 3: Put your little plate in the freezer. You’ll need it later for something very interesting. Cue the up-and-down eyebrows.
Step 4: To sterilize your jars, fill your canner with hot water. Place your empty jars in your jar rack, submerge them in the water, and boil for 10 minutes. Prepare your lids and rings according to the manufacturer’s instructions. Turn off the heat but leave your jars submerged in the hot water for now.
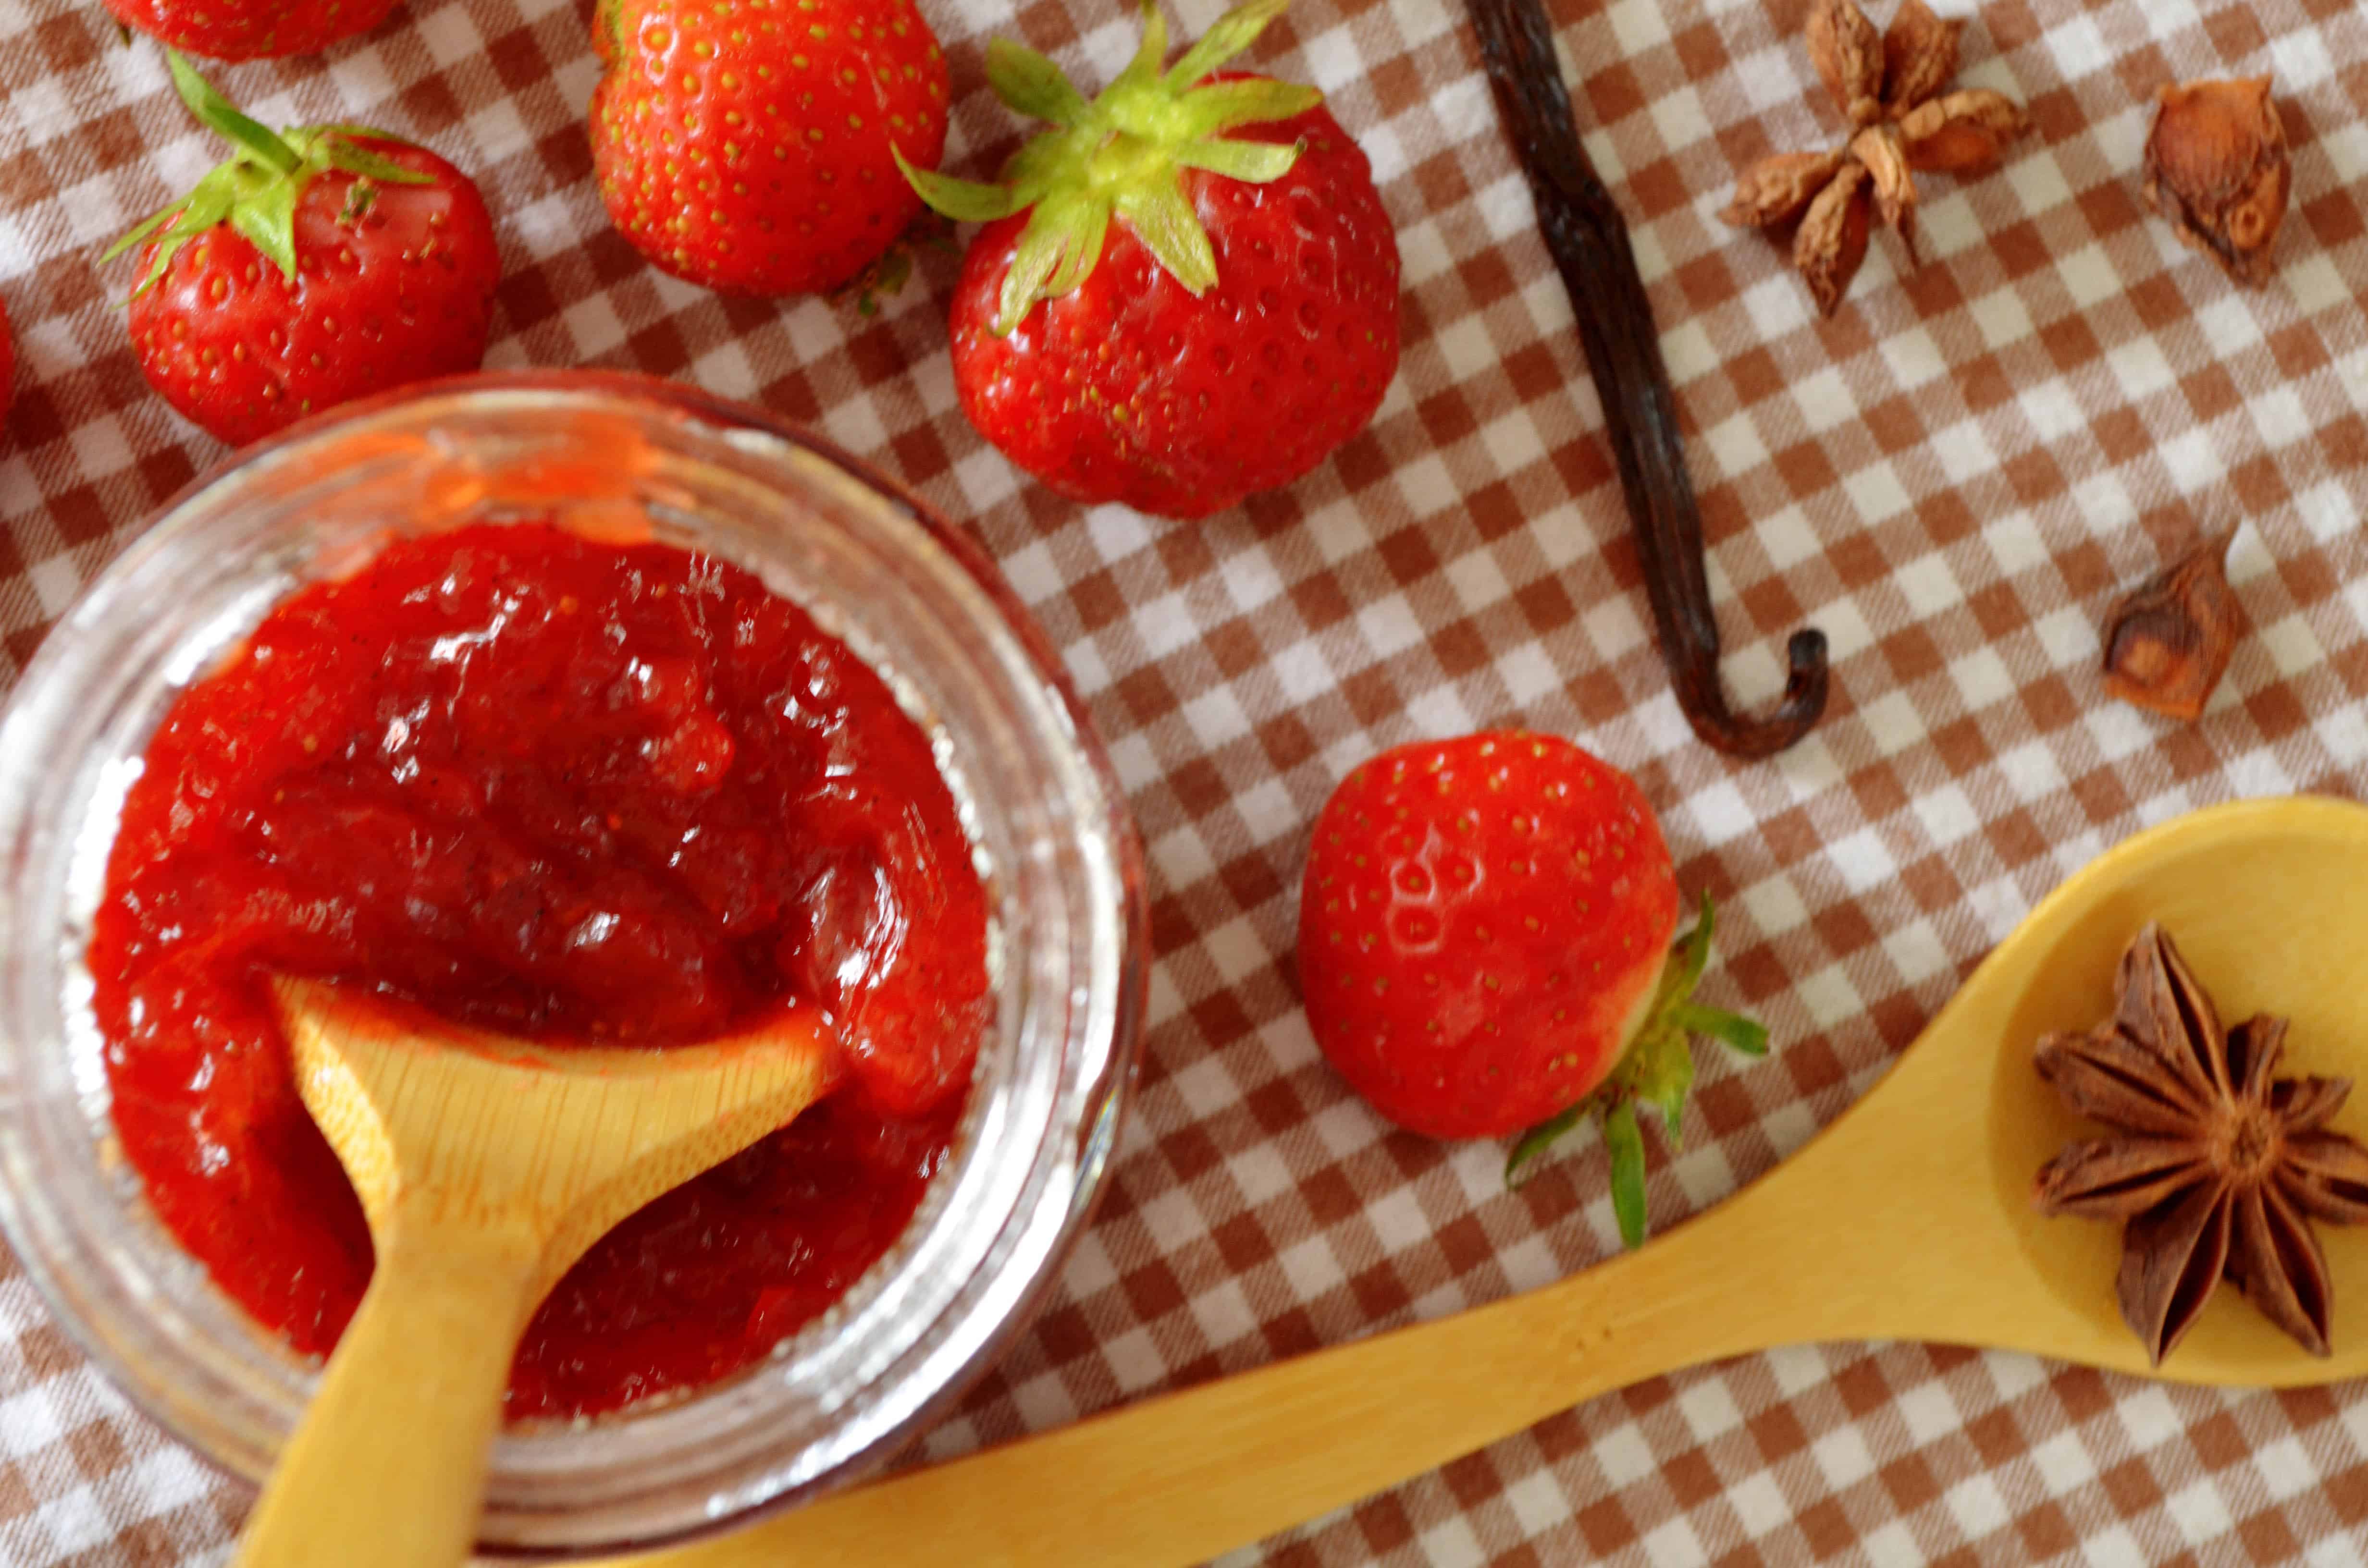
Step 5: Wash your strawberries, and remove their caps.
Step 6: Toss your berries into a large pot and gently (or depending on your mood, not so gently) crush them with your wooden spoon, leaving some berries smushed but fairly recognizable. Simmer over low to medium heat for 10 minutes.
Step 7: Add the sugar, plus 1/3 cup freshly squeezed lemon juice, stirring constantly until the sugar dissolves.
Step 8: Crank up the heat to bring your berry mixture to a boil. Keep it bubbling for about 20 minutes, or until it starts to thicken. Don’t worry. This part is not as boring as it sounds, because you’ve got two big jobs: Stir frequently to save those unlucky berries on the bottom from burning, and scoop off any foam that collects on top.
Step 9: Retrieve your plate from the freezer, and test the thickness of your jam by dropping a teaspoon of jam onto it. Count to 30, hold your breath, and then tip the plate. If the mixture gels and moves only slightly, proceed to step 10. If it runs down the plate, re-freeze your plate, say a few choice curse words, boil your jam for another 1 to 2 minutes, and test again. Repeat as necessary.
Step 10: Remove the jam from heat. Using tongs, remove your sterilized jars from the hot water and shake to empty them. Using a ladle, fill your jars, leaving % inch of headroom. Wipe off any drips from the rim, using a clean, damp paper towel, to get a good seal. Add the lid, and screw on the ring to secure. Repeat until all the jars are full.
Step 11: Now you need to preserve your jam. Double-check the water level in your canner; it must be deep enough to fully cover the upright jars by at least 2 inches. Bring the water to a boil. Using your tongs, lower your jars into your jar rack and submerge them in the boiling water, cover the canner with the lid, and boil for 5 minutes. Turn off the heat, and wait 5 more minutes.
Step 12: Transfer your jars with tongs to your rack and let cool for 12 to 24 hours. Check the seal by pressing the center of each lid. If it doesn’t pop, it’s good! Store in a cool, dark place for up to a year. If it does pop, repeat step 11 within 24 hours or put that jar in the fridge and use right away.
More tips
- For faster berry crushing, swap your wooden spoon for a potato masher.
- If you don’t trust the chilled-plate test, double-check yourself using a kitchen thermometer. When your jam reaches 220 degrees, it’s ready to jar.
- Have a not-quite-full jar after step 10? Put a lid on it and stick it in the fridge. It’ll be good for 3 to 4 weeks.
- Some people use pectin to set their jam. That works, too! Just follow the instructions on the box.
- Add lemon or orange zest during step 7 for added pop.