Flashing Repair
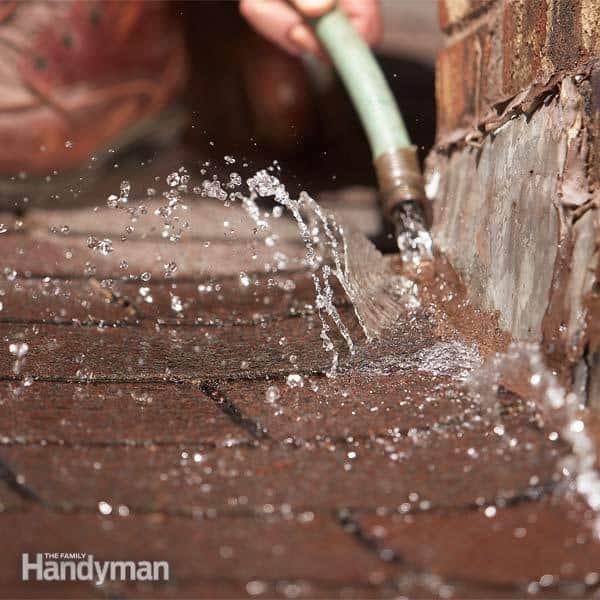
Flashing is used as a watertight seal wherever shingles cannot be used. You’ll find flashing where the chimney meets the roof, around roof vents in valleys, around dormers and where flat roofs meet a wall.
Aluminum, copper, plastic, felt, rubber and galvanized steel are the materials flashing is made from, however, the metal flashing is the more durable and leak resistant.
Flashing is joined to the roof with roofing cement. Over the years the cement can break down, creating holes in the material and possible areas for water leakage.
Inspect your flashings once a year, and if you notice any holes or cracks, refill them with roofing cement. Larger holes should be filled with roofing felt and then coated with roofing cement.
Chimney flashing is imbedded in mortar, and sometimes this mortar will break down or the flashing will pull away. This calls for immediate repair work, since flashing that has pulled away from the chimney will act as a funnel to collect volumes of rainwater. To repair, clean out the old mortar with a chisel and mallet, reposition the flashing and refill the channel with a new mix of patching mortar. Fill a caulking gun with roofing cement and apply the cement to the join where the metal meets the chimney.
If leaks develop around the vent pipes, apply roofing cement around the flashing area and a few inches up the pipe. If the lead caulking around the neck of the vent pipe becomes too loose, tap it with a chisel or screwdriver until it fits tightly all the way around the pipe.
To replace the flashing around a vent pipe, remove the shingles from around the pipe and, without damaging the roofing felt, chip off the old flashing. Position new flashing and reinstall new shingles. Apply roofing cement over shingle nail heads.
If the chimney flashing needs to be replaced, first chisel out the mortar and roofing cement, holding the cap flashing in place. Pry up the shingles from around the flashing, then, without damaging the roofing paper underneath, remove the flashing. Keep the flashing intact to use as a pattern for cutting the new flashing. Cut the new copper flashing to fit around the chimney and apply the base flashing at the lowest part of the chimney first. Use roofing cement to hold the flashing in place. Apply the step flashing up the sides of the chimney, overlapping each piece of metal, then apply the top plate last. Bend the top and sides of the cap flashing so that it will fit into the mortar joints. Position in place and apply new mortar. Caulk around the |oin with roofing cement. Reapply the shingles and caulk all edges with roofing cement.
Valley flashing, used where two slopes of a roof meet, is used two different ways — open valley, where the shingles stop before entering the valley; and closed valley, where shingles are butted together right into the valley.
Repairing open-valley flashing is easier, because no shingles need to be removed. Cut a piece of flashing to fit the hole in the valley, overlapping the hole by at least 25mm {1 in) on all sides. Apply roofing cement around the hole and press the patch in place. Caulk around the edges of the patch with roofing cement.
To repair a closed valley, first remove all the surrounding shingles. Then cut squares of metal to fit at least 5cm (2in) under the second shingle on each side. Bend the metal diagonally to fit the valley and place directly over the old flashing and under the shingles. Use roofing cement to hold the metal in place and to fill the area between the shingles and the new flashing. Replace shingles.
To replace roll-roofing flashing, use a putty knife to pry loose the cement that fastens the shingles to the roll roofing. Remove any holding nails. Cut a new piece of flashing the same size as the old, placing it in position under the shingles and nailing in place where the shingle overlaps. Cover nail heads with roofing cement and cement the shingles to the flashing.