Replace an Electrical Outlet
Replacing a receptacle is a great introduction to some of the basics of wiring. It also gives you a chance to update the receptacle with a new color. White and ivory are standard, but black is handy if you have a dark wall and prefer an unobtrusive plug.
One warning: Never replace an ungrounded (two-hole) receptacle with a grounded (three-hole) one, unless it can be connected to a ground wire.
- CUT THE WIRES. Because receptacles are often wired in a series, chances are good you’ll find two pairs of wires. Sometimes receptacles are “split”—one outlet connected to a switch and the other always live. Err on the safe side and mark one pair with tape. Close to the terminal screws, snip off the wires with wire strippers or side cutters.
- STRIP THE WIRES. Straighten the wires and strip about % in. of insulation from the wire ends. Avoid nicking the wire as you do so.
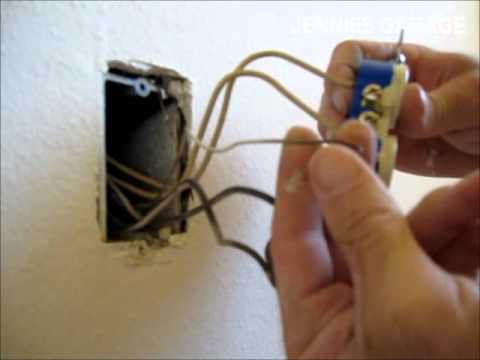
- MAKE THE CONNECTIONS. Hook the wires onto the terminal screws of the new receptacle. Orient the hook so it tends to tighten on the terminal as you fasten the screw. Begin with the uninsulated or green insulated copper ground first. Next, connect the white wire to the silver terminal screw(s) and the black wire to the brass screw(s).
- BEND A LOOP. Using long-nose pliers, grab the wire just beyond the insulation. Bend the wire to the left, then slide the pliers up to make a looping bend to the right. The resulting loop should be a circle open just enough to hook it on the terminal screw.
- WRAP THE TERMINALS. To make sure your connections don’t loosen, wrap electrical tape over the connections.