Wood Finishing Tips – How to Finish It Flawlessly
Pro tips for silky-smooth perfection
Wood finishing is a skill nobody truly masters. Even the pros make mistakes. But with some patience and attention to detail, beginners can do it right. Your best approach is to start on something small and simple before you take on more challenging projects.
The basic process
There are a dozen ways to color and coat wood. But for most DIYers, stain followed by a clear coating of polyurethane is the best combination.
1. Sand it smooth
On coarse-grained wood like oak, start with 100-grit sandpaper, then go to 150-grit. On finegrained woods like cherry, birch or maple, you need to end with a higher grit; 100-150-220 is a good combination.
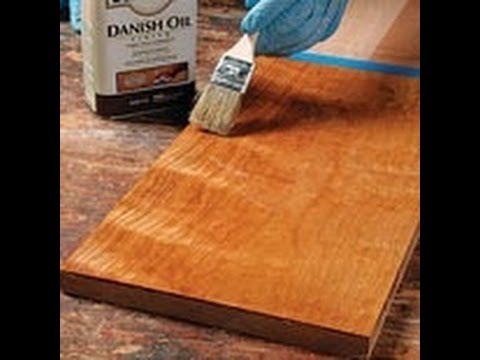
2. Add color
Apply stain with a brush or rag, then wipe off the excess with a rag. Spread out used rags to dry before putting them in the trash. Stain-soaked rags are a spontaneous-combustion hazard.
3. Apply polyurethane
This is the hard part; you have to work fast and apply the poly smoothly. Before the poly begins to dry, drag a brush lightly over it to smooth it. Apply two to four coats, lightly sanding between coats.
Water-based poly vs. oil: What’s the difference?
Water- and oil-based polyurethanes are equally tough, but there are some important differences:
- Water-based poly goes on milky and dries crystal clear. Oil has a warm amber tone.
- Oil-based poly dries much slower, which makes it easier to smooth out before it becomes gummy. This is a big advantage on large surfaces.
- Water-based poly cleans up with water. Oil requires mineral spirits. Oil also emits harmful fumes, so you need good ventilation.
Beware of blotches
Some woods absorb stain unevenly, which causes dark blotches to appear. Birch, maple, pine and cherry can all play this ugly trick on you. It’s hard to eliminate this effect, but you can limit it by applying a wood conditioner before staining. Conditioner also prevents wood’s end grain from absorbing more stain than the face grain. It’s available wherever stains and finishes are sold.
Sand between coats
Even master finishers end up with a few imperfections in the clear coating. To remove them, lightly sand the entire surface with extra-fine sanding pads or paper. Be careful not to sand through the finish, especially along edges. Clean up the fine dust with a vacuum then a tack cloth before applying the next coat.
If you choose a satin finish…
Multiple coats of satin or semigloss poly can obscure the wood’s grain. Ugly. That’s why experienced finishers often start out with gloss. Then, if they want less sheen, they add a final coat of satin.
Expensive brushes are worth it
Spend extra for a good-quality brush. Even if you spend $20 or more, you won’t regret it. Quality brushes hold more finish, lay it on smoothly and are less likely to leave lost bristles in your clear coat. If you clean your brush immediately after use, it’ll serve you well far into the future.
Wipe-on poly is wonderful
Polyurethane that’s formulated for application with a cloth has some important advantages over the brush-on stuff: It goes on thin, so it’s less likely to run, sag or pick up airborne dust. Smooth application with a cloth is also easier than brushing, especially on shaped surfaces. The big disadvantage of wipe-on is that it forms a very thin coating, so you have to apply lots of coats to equal one coat of brushed-on finish.
Spray or wipe the final coat
Brushing is a good way to build up a thick layer of poly, but it’s also difficult to apply smoothly. So woodworkers often brush on a few coats, then use spray or wipe-on poly for the final coat or two. Spraying and wiping are more likely to end in perfection.