Professional Caulking – How to Caulk like a Pro
Anyone can seal a crack—making it look good is the challenge
Laying a smooth bead of caulk is like playing the piano: You can learn to do it well, but don’t expect applause for your first efforts. It’s best to start where perfection is less important (exterior window trim, for example), and then move on to high-visibility work like a tub surround.
Neatness starts at the tip
The biggest mistake rookies make is to cut too much off the tip. That allows too much caulk to flow out, which leads to a mess. So cut near the end at a sharp angle. You can always trim off more if needed. Smooth and round the cut tip with sandpaper.
Clean the tip
Start every bead with a clean tip. Plan to muck up two or three rags over the course of a caulking project.
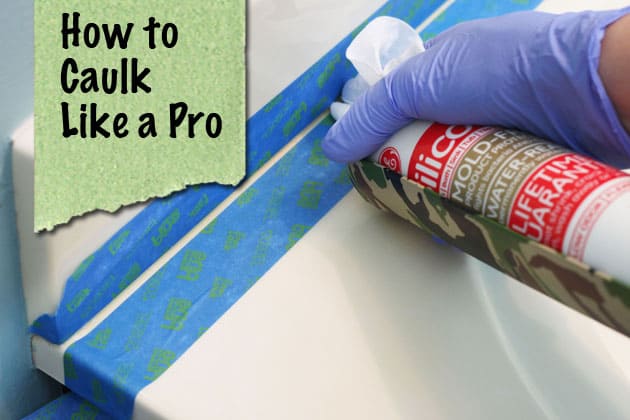
Smooth it with your finger
Immediately after laying the bead, drag your finger across it. In order to slide smoothly, your finger needs lubrication. For acrylic/latex caulk, dip your finger in water. With silicone, slip on a surgical-style glove and use alcohol.
Don’t use your wrists
Every golfer knows that the best way to control a putter is with the upper body. The same goes for caulking. Use your upper body, or even your legs, to move the tube, not your wrists.
Nix the squeeze tube
Squeeze tubes are OK at first, but as they empty, it’s harder and harder to squeeze out a steady, consistent flow. That means a lumpy bead. Better to spend a few bucks on a caulk gun and use gun tubes.
Meet in the middle
When you have a long bead to run and can’t get it done in one pass, don’t start again where you left off. It’s hard to continue a bead without creating a glob. Instead, start at the other end and meet in the middle.