The first thing to consider when laying stone paving is long term. A newly laid path or terrace will always look nice, but the test of time will determine just how well the pavers have been laid. If the paving has been paid properly, it will retain its look for decades, never mind years. Here are some helpful hints to avoid calling in a professional to fix a poorly done job.
- Create a plan of the project, and scale it to the nearest inch. This is essential for two reasons, firstly, one needs to know the amount of materials one will need, and also the plan will highlight any possible problems, allowing one to amend if necessary. Try to avoid paving over utility covers or near large trees, as one might damage the roots.
- Think about movement – The ground is subject to expansion and contraction, which can be caused by temperature changes, stress from nearby structures, and even tree roots. Large pavers (anything bigger than 300mm x 300mm) would need to have expansion joints to take up the movement, while standard sizes still require a small gap in between each paver, which would be grouted or cemented.
- Prepare a solid base –This is where many people go wrong, as they do not think it is necessary to have a solid foundation for the paving slabs, when in actual fact, it is essential, if one wants to paving to remain intact. A sand base of at least 50mm should be compacted before starting the work. If one lives in Western Australia, Mataka provide pavers in Perth and with a range of materials and finishes, there is something to suit every property.
- The next step is to mix cracker paste and cement with a small amount of water, until it forms a pliable paste, then apply a layer on top of the sand base. This should be evenly spread and the pavers should be laid before the mixture starts to harden. If the project is a big one, only mix enough for to allow the pavers to be laid in a short period of time. This might means mixing several times, but it is better to do that than to have to remove the hardened layer and start again.
- Finally, one can begin to lay the pavers, and this is done by adding an adhesive to the back of the paver, then gently tapping it down with a rubber hammer. It doesn’t pay to rush with this stage, and make sure that they are all aligned properly, as crooked gaps will not look professional. The same system works well with stone cladding, as long as one works a little at a time, to avoid the mix going hard.
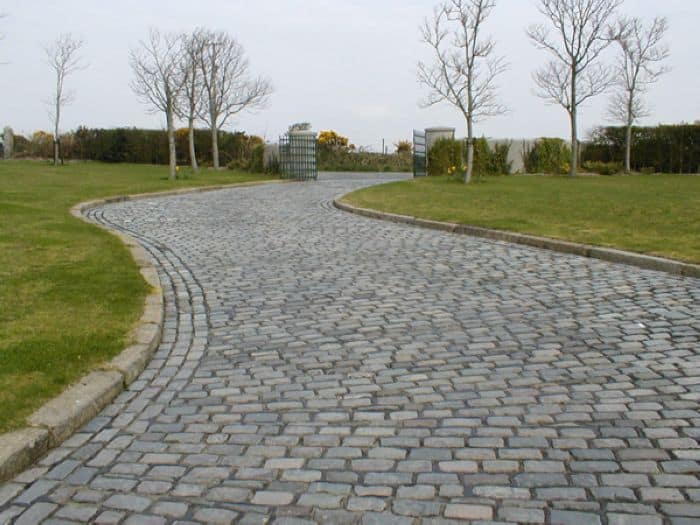
Stone paving can look stunning, providing it is laid properly, and if one follows the above points, the finished job will last for many years, and gives one a sense of pride in a job well done.