Roof Undercloak Installation Overview
Bargeboards and, in some cases, gable end brickwork are prone to deviation in their length, just like the fascia boards at the eaves, and this can transfer itself to the verge detail when installing the undercloak. For this reason it is advisable to lay undercloak to a line, especially on longer rafters. If you are using fibre-cement strips of uniform width, measure the required overhang and mark the width of the undercloak on the top and the bottom batten (for instance, 50mm over 150mm). Strike a line between the points and fix the inside edge of the undercloak to this.
If you are using verge clips, then you fix the top and bottom ones, suspend a line between them and use the line as a guide for the outer edge of the undercloak. This is especially useful when using undercloak of non-uniform width or when the undercloak needs bedding.
If you are not using verge clips, attach short lengths of batten fixed to the top and bottom of the verge and saw notches (or tack in nails) at the required overhang. Use the notches or nails to suspend the line between the two points.
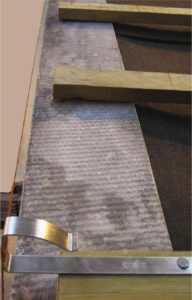
Undercloak fixed to a line suspended between verge clips.
Before bedding an undercloak it is important to make sure that the brickwork or stonework at the gable end is correct. It should be cut neatly to a line about 10mm below the rafter line for a slate or fibre-cement strip undercloak, or about 25mm for plain tile undercloak. If the masonry has not been cut neatly to a line and comes level with or above the rafter line in places, this will result in a wavy and sometimes cracked undercloak and, in turn, noticeable deviations in the verge slates or tiles.Bedded Undercloaks
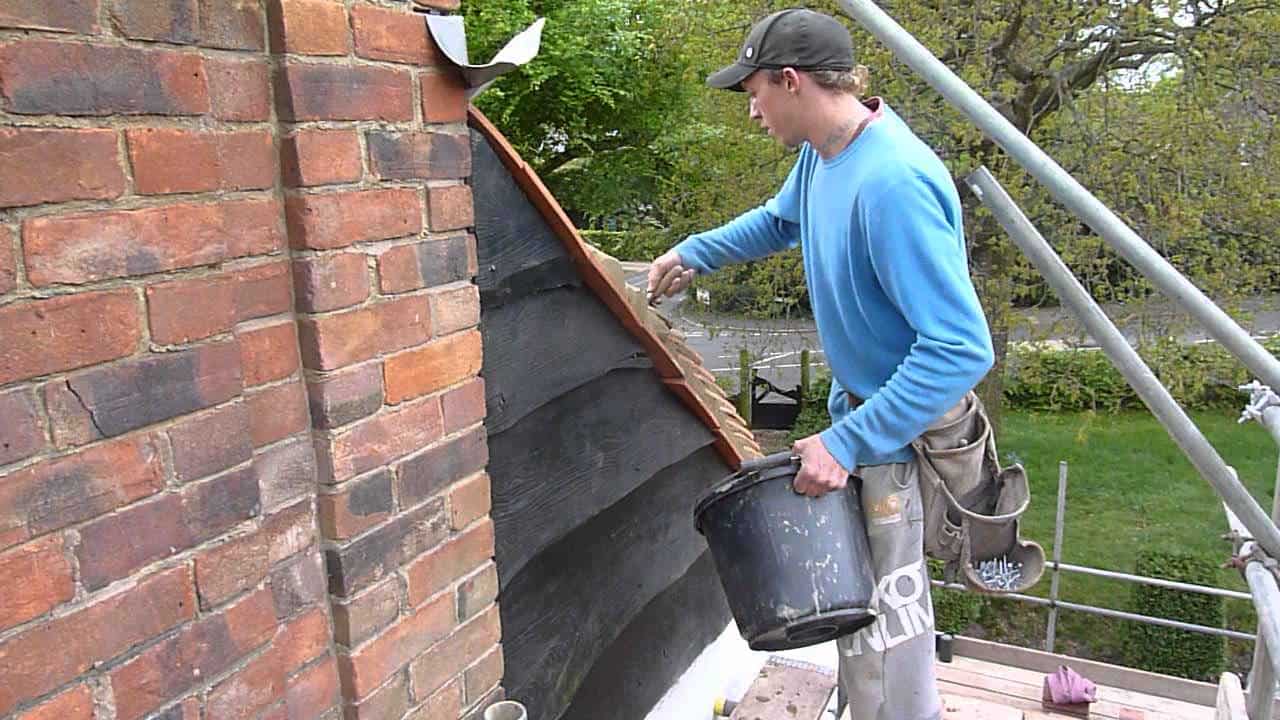
To install the undercloak, first determine the overhang (see the sections on setting out). If the roof has already been battened, ease up the batten ends carefully so that the undercloak may be inserted beneath them. If verge clips are to be used, then they should be fixed to the batten ends with the outer edges to the line, before they are eased up. Bed the wall so that it is about 25mm higher than the rafter line. Slide the undercloak into place so that the outer edge is level with the line and tap down with a straight edge until the desired level is reached. Normally, a bedded undercloak goes under the underlay, but in some cases may this be specified the other way around. The important thing in either case is to provide a good key for the mortar, so, if the underlay intrudes into the mortar, then trim it back. Finally, tap down the batten ends.
Nailed Undercloaks
Plain tiles are not normally suitable for nailing as undercloaks and so the following applies to slates and fibre-cement strips only. For an undercloak to be nailed there has to be something to nail it to, and this is normally an end rafter finished with a bargeboard. The bargeboard should be level with or even a fraction lower than the end rafter so that the undercloak is properly supported and does not tilt inwards towards the roof when laid. Slates should be nailed at least twice per piece, and fibre-cement strips should be nailed at each end, plus two or more other places towards the centre. There needs just to be sufficient fixings to hold it in place until the batten ends are nailed through. Undercloak should be fixed into the end rafter (rather than the bargeboard) with largeheaded clout nails.
Cutting and Positioning Pieces (Fibre-Cement Strips only)
At the eaves there is normally a tilting fillet, which fills the gap between the bargeboard and the top of the fascia. The machined edge of the undercloak should start from here, and the top should be cut off at the apex by nibbling with slate cutters or by scribing and snapping. The piece at the eaves should then be installed by putting a machined edge to the junction and cutting the leading edge halfway on to the fascia board. Drawing the edge back from the edge of the fascia by a few millimetres means that the line of the fascia board is not affected by the thickness of the undercloak (approximately 6mm) and so the slate or tile can come through at the verge without lifting. Ideally, the undercloak should extend over the fascia board to meet the edge of the slate or tile, but this requires that the fascia board is notched out to the width of the undercloak and to a depth of around 25mm, which is not always practicable, especially if the guttering has already been fixed into place. Small sections are quite fragile and may crack if you try to nail straight through, so it is better to form the holes first.
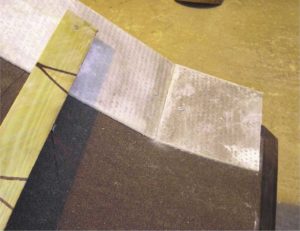
Undercloak to eaves